1. Download WiimoteLib from http://www.codeplex.com/WiimoteLib
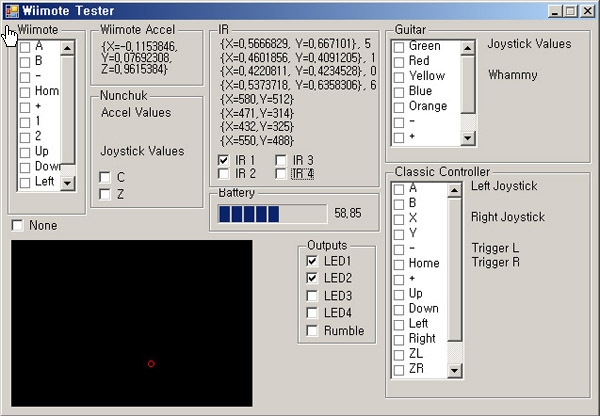
2. WiimoteLib을 이용한 간단한 프로그램
// WiimoteLib Example
#include <iostream>
#import “../WiimoteLib/bin//x86/Release/WiimoteLib.tlb”
using namespace std;
using namespace WiimoteLib;
int main(int argc, char * argv[])
{
HRESULT hr = CoInitialize(NULL);
try
{
IWiimoteCOMServerPtr spWiimoteCOMServer;
hr = spWiimoteCOMServer.CreateInstance(
“WiimoteLib.WiimoteCOMServer”);
int count = 1;
while (!GetAsyncKeyState(VK_ESCAPE))
{
cout << “X : ” << spWiimoteCOMServer->GetX() << endl;
cout << “Y : ” << spWiimoteCOMServer->GetY() << endl;
cout << “Z : ” << spWiimoteCOMServer->GetZ() << endl;
cout << “Battery Status : ” <<
spWiimoteCOMServer->GetBatteryStatus() << endl;
Sleep(1000);
switch (count)
{
case 1:
spWiimoteCOMServer->SetLEDs(true, false, false, false);
break;
case 2:
spWiimoteCOMServer->SetLEDs(false, true, false, false);
break;
case 3:
spWiimoteCOMServer->SetLEDs(false, false, true, false);
break;
case 4:
spWiimoteCOMServer->SetLEDs(false, false, false, true);
break;
default:
spWiimoteCOMServer->SetLEDs(true, true, true, true);
count = 0;
break;
}
++count;
// 럼블 (진동) 키기
//spWiimoteCOMServer->ToggleRumble(true);
}
}
catch (_com_error& e)
{
cout << e.ErrorMessage() << endl;
}
return 0;
}


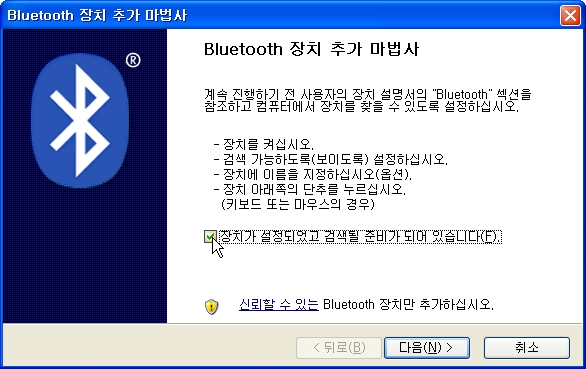
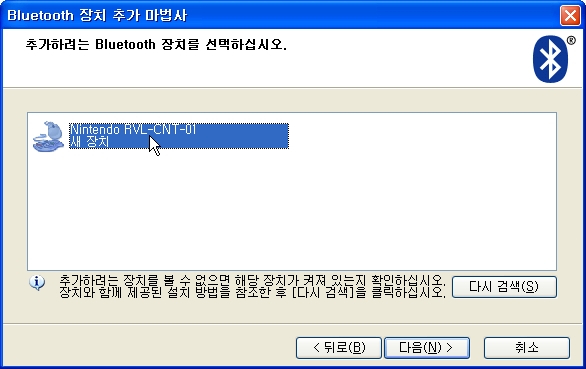
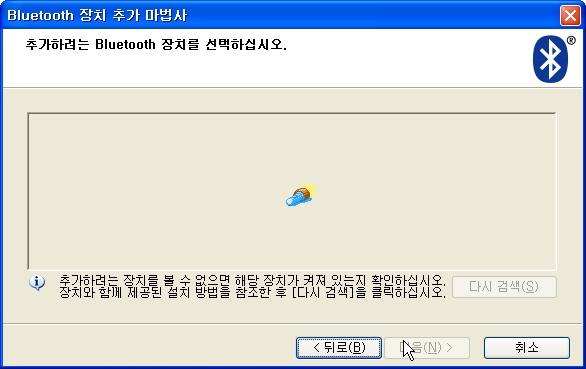 장치 탐색중