HW8

여러 개의 3차원 객체 (3D objects) 모델을 전체 장면 World에 배치시키고 움직임을 넣어본다.
moglclass17 (반드시 OpenAL 설치 요망 http://dis.dankook.ac.kr/lectures/cg17/2017/11/20/openal-getting-started/)를 사용한다.
-본인이 제작한 계층적 변환 구조(Hierarchical transformation)를 가진 3차원 객체(e.g. your name)에 텍스쳐를 넣어준다.
-전체 장면을 꾸며주기 위하여, 주변에 2개 이상의 3차원 모델을 추가로 그려준다.

-animated texture (i.e., flipbook animation)을 추가로 그려준다.
-사운드 클래스 (OpenAL 라이브러리)를 사용하여 배경음악과 이벤트 사운드를 추가한다.
-위의 코드로 하나의 완성된 장면을 구성하는 프로그램을 작성하고, 실행 화면과 코드를 첨부하시오.

HW7

Hierachical transformation 3D geometry (eg. your name)를 3가지 방식으로 만들고 구현방식 차이점을 분석한다.

SimpleCube3d를 참고한다.

-geometryPositionColor (lab10-GeometryPositionColorOrientationCamera)

-geometryPositionNormal & Lighting & Material (lab11-GeometryPositionNormalMultipleLights3 )

-geometryPositionNormalTexture & Lighting & Material & TextureMapping (lab13-TextureShadedGeometry & moglclass17(updated))

//////////MPerPixelShadingTexture.vs

// Input vertex data, different for all executions of this shader.
layout(location = 0) in vec3 vPosition; // vertex position (in model space)
layout(location = 1) in vec2 vTexCoord; // texture coordinate (in model space)
layout(location = 2) in vec3 vNormal; // vertex normal (in model space)


TextureShadedQuad-FilteringWrappingAnimation

lab14-TextureShadedQuad-FilteringWrappingAnimation

animatedTexture (flipbook animation)

animatedTexture

texture filtering
// LL mag nearest – min nearest
// LR mag linear – min linear
// UL mag linear – min linear – mipmap nearest
// UR mag linear – min linear – mipmap linear

textureFiltering

texture wrapping – texCoords LL(-1, -1), LR(3, -1), UL(-1, 3), UR(3, 3)
// LL CLAMP
// LR CLAMP_TO_EDGE
// UL REPEAT
// UR MIRRORED_REPEAT
textureWrapping

TextureShadedGeometry

lab13-TextureShadedGeometry

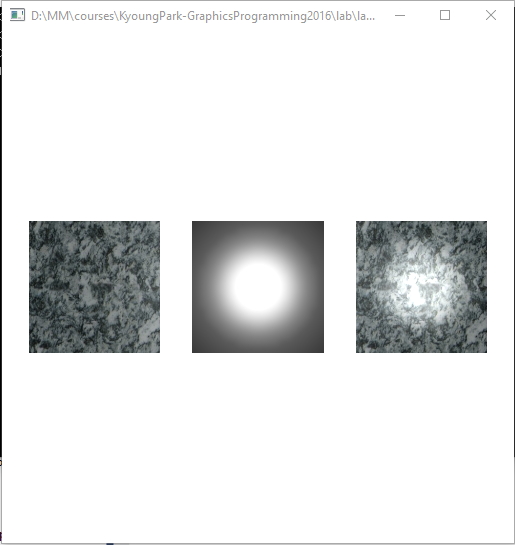
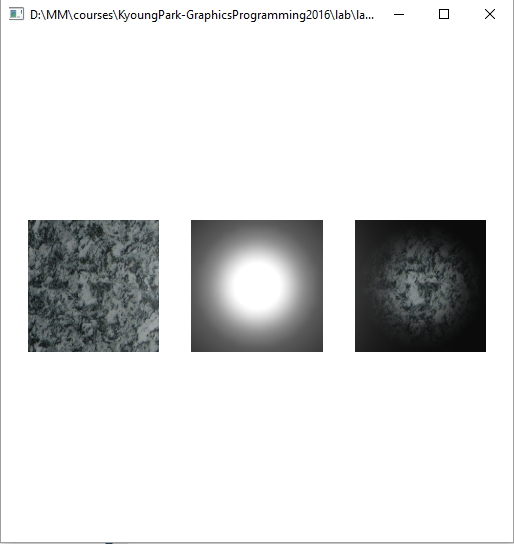
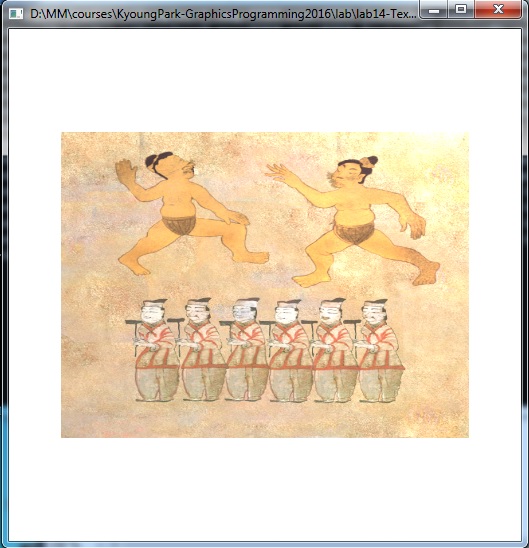
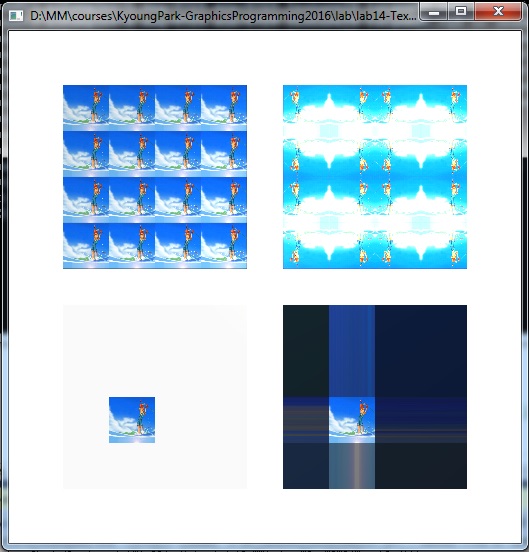
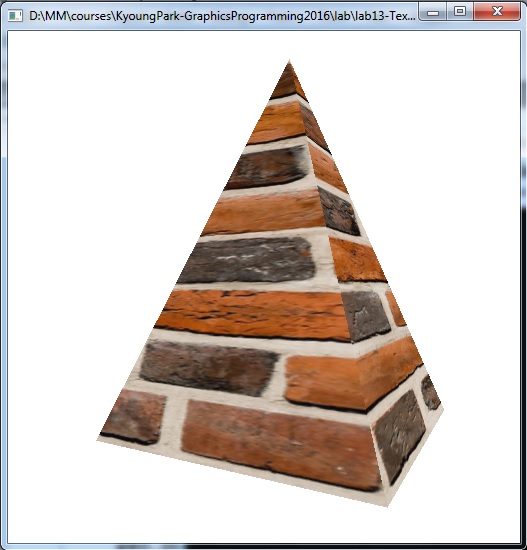
Texture2D 클래스 사용한 Texture Mapping 정의

GeometryPositionNormalTexture 클래스 사용

‘g’-key 사용, Texture Pyramid->Cube->Sphere->Cylinder->Torus->Parallelepiped->Grid 변환

Pyramid

void Cone::init()
{
numVertices = 0;
glm::vec3 n(0.0f, 0.0f, 0.0f);
float xTexCoord = 0.0f;
float dslice = 1.0f / slices;

float theta = (float)(2 * M_PI / slices);
for (int i = 0; i < slices; i++)
{
glm::vec3 v1, v2, v3;
// V1
v1[0] = p[0];
v1[1] = p[1] + height;
v1[2] = p[2];
// V2
v2[0] = p[0] + radius * cosf(theta * i);
v2[1] = p[1];
v2[2] = p[2] + radius * sinf(theta * i);
// V3
v3[0] = p[0] + radius * cosf(theta * ((i + 1) % slices));
v3[1] = p[1];
v3[2] = p[2] + radius * sinf(theta * ((i + 1) % slices));
// Normal
glm::vec3 n = glm::cross((v2-v1), (v3-v1));
n = glm::normalize(n);
printf(“V1: %f %f %f\n”, v1[0], v1[1], v1[2]);
printf(“V2: %f %f %f\n”, v2[0], v2[1], v2[2]);
printf(“V3: %f %f %f\n”, v3[0], v3[1], v3[2]);
printf(“N: %f %f %f\n\n”, n[0], n[1], n[2]);

// V1
vbo.addData(&v1, sizeof(glm::vec3)); // vertex position
vbo.addData(&glm::vec2(xTexCoord + dslice * 0.5f, 1.0f), sizeof(glm::vec2)); // vertex texture coordnate (TopCenter)
vbo.addData(&n, sizeof(glm::vec3)); // vertex normal
// V2
vbo.addData(&v2, sizeof(glm::vec3)); // vertex position
vbo.addData(&glm::vec2(xTexCoord, 0.0f), sizeof(glm::vec2)); // vertex texture coordnate
vbo.addData(&n, sizeof(glm::vec3)); // vertex normal
// V3
vbo.addData(&v3, sizeof(glm::vec3)); // vertex position
vbo.addData(&glm::vec2(xTexCoord + dslice, 0.0f), sizeof(glm::vec2)); // vertex texture coordnate
vbo.addData(&n, sizeof(glm::vec3)); // vertex normal

xTexCoord += dslice; // increment texCoord
numVertices += 3;
}

createVAO();
isLoaded = true;
}

simage library

COIN3D simage library (http://www.coin3d.org/lib/simage)

  • COIN3D simage가 제공하는 이미지 포멧은 JPEG, PNG, GIF, TIFF, RGB, PIC, TGA, EPS등 다양하다.
  • COIN3D의 simage library를 사용하려면, 프로젝트에 additional library and include directory를 추가해야한다. 기존 include 와 lib 디렉토리 안에 simage.h 과 simage1d.lib를 복사한다.
  • 그리고, 텍스쳐 이미지 로딩을 위해 프로젝트에 simage1.lib 라이브러리를 링크한다.

OPENAL GETTING STARTED

1. OpenAL 1.1 SDK & Installer for Windows를 다운로드하여 설치한다. (OpenAL11CoreSDK)

2. 기존 프로젝트 include 와 lib 디렉토리 안에 OpenAL 헤더파일 al.h, alc.h, efx.h, efx-creative.h, EFX-Util.h, xram.h과 OpenAL libs/Win32안에 있는 OpenAL32.lib, EFX-Util_MT, EFX-Util_MTDLL 라이브러리들을 복사한다.
3. 그리고, 본인 프로젝트 Additional Dependencies에 OpenAL32.lib 라이브러리를 추가하고 링크한다.