2014/04/01 Project Proposal Presentation
Group1 – 고규안, 서동재, 이승혁, 윤다영, 최예준
Group2 – 이혜성, 선동한, 신혜린, 송지혜
Monthly Archives: March 2014
HW2
XNA4Primitives3DBounce
XNA4Primitives3DOrientation
XNA4Primitives3DTransformation
XNA4TransformationMatrix
XNA4BoxTransformation
lecture5
lecture4
XNA4 Localization Sample
How to: Create a Localized Game
http://msdn.microsoft.com/en-us/library/ff966426.aspx
Localization Sample
(This sample shows how to localize an XNA Framework game into multiple languages.)
http://xbox.create.msdn.com/ko-KR/education/catalog/sample/localization
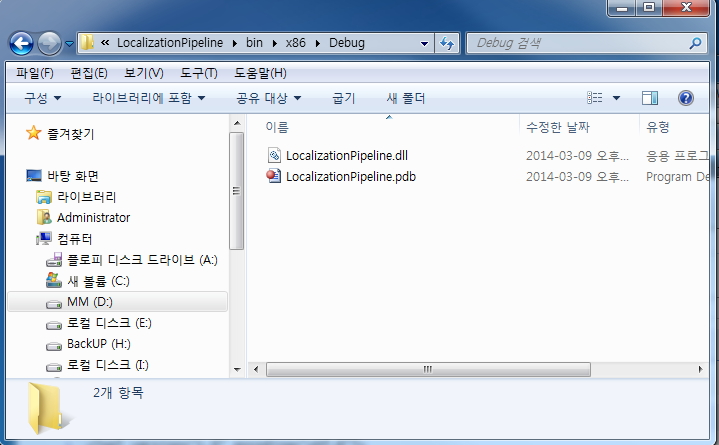
1. Localization Sample을 다운받아서 빌드해서 LocalizationPipeline\bin\x86\Debug안에 LocalizationPipeline.dll을 생성한다.
2. LocalizationPipeline\bin\x86\Debug안에 LocalizationPipeline.dll을 본인 프로그램의 Content 디렉토리안에 복사해 넣는다. 그림예시: YourFirstXNA4GameContent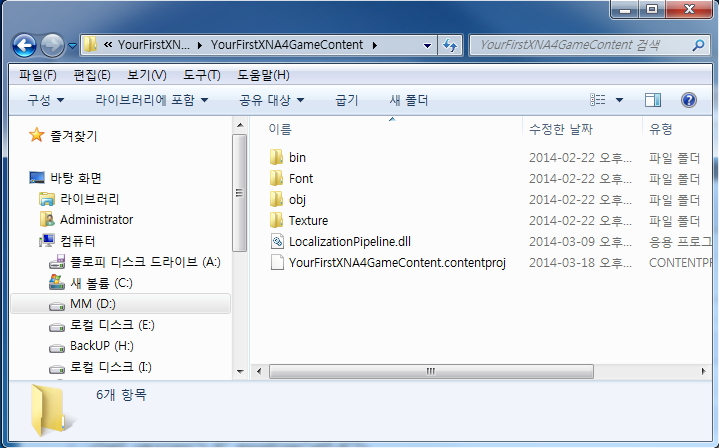
3. 본인 프로그램의 Content에 참조(Reference)에 LocalizationPipeline.dll를 찾아 넣는다.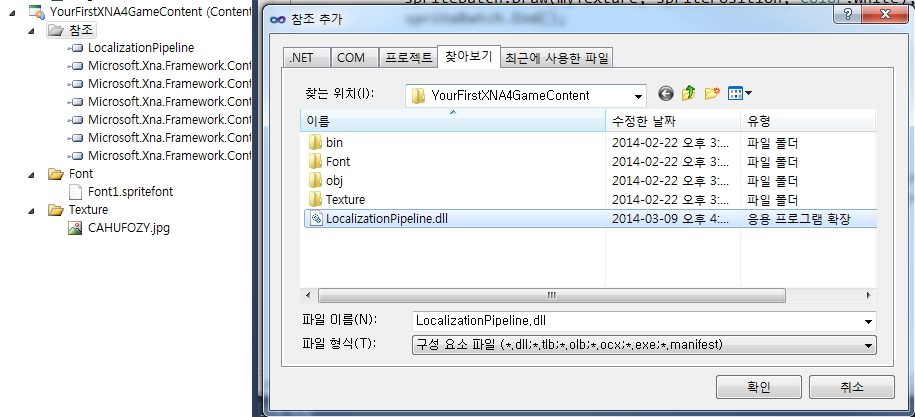
4. 본인의 프로그램의 Content 프로젝트에 추가->새 항목-> Sprite Font 지정하고 LocalizationFont.spritefont라 이름을 지정해본다.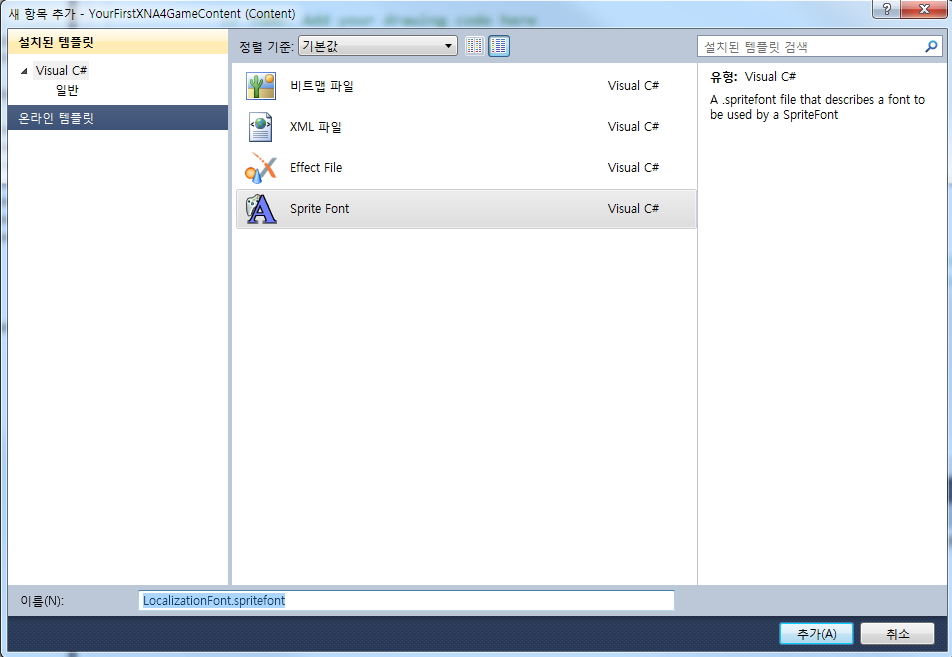
5. LocalizationFont.spritefont에 세부 내용을 수정한다.
<?xml version=”1.0″ encoding=”utf-8″?>
<!–
This file contains an xml description of a font, and will be read by the XNA
Framework Content Pipeline. Follow the comments to customize the appearance
of the font in your game, and to change the characters which are available to draw
with.
–>
<XnaContent xmlns:Graphics=”Microsoft.Xna.Framework.Content.Pipeline.Graphics”>
<Asset Type=”LocalizationPipeline.LocalizedFontDescription”>
<!–
Modify this string to change the font that will be imported.
–>
<FontName>맑은 고딕</FontName>
<!–
Size is a float value, measured in points. Modify this value to change
the size of the font.
–>
<Size>24</Size>
<!–
Spacing is a float value, measured in pixels. Modify this value to change
the amount of spacing in between characters.
–>
<Spacing>0</Spacing>
<!–
UseKerning controls the layout of the font. If this value is true, kerning information
will be used when placing characters.
–>
<UseKerning>true</UseKerning>
<!–
Style controls the style of the font. Valid entries are “Regular”, “Bold”, “Italic”,
and “Bold, Italic”, and are case sensitive.
–>
<Style>Regular</Style>
<!–
If you uncomment this line, the default character will be substituted if you draw
or measure text that contains characters which were not included in the font.
–>
<!– <DefaultCharacter>*</DefaultCharacter> –>
<!–
CharacterRegions control what letters are available in the font. Every
character from Start to End will be built and made available for drawing. The
default range is from 32, (ASCII space), to 126, (‘~’), covering the basic Latin
character set. The characters are ordered according to the Unicode standard.
See the documentation for more information.
–>
<CharacterRegions>
<CharacterRegion>
<Start> </Start>
<End>~</End>
</CharacterRegion>
</CharacterRegions>
<ResourceFiles>
<Resx>..\YourFirstXNA4Game\LocalizationFontStrings.resx</Resx>
</ResourceFiles>
</Asset>
</XnaContent>
6. LocalizationFont.spritefont 의 속성에서 Content Processor를 LocalizedFontProcesor로 수정한다.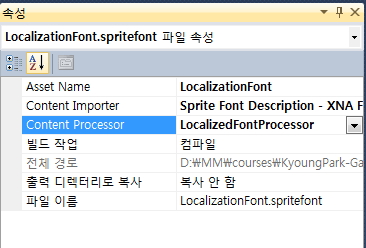
7. 본인 프로그램의 게임 프로젝트에서 추가->새 항목-> 리소스 파일 지정하고 LocalizationFontStrings.resx라고 이름을 지정한다. (Font파일에 리소스로 지정한 동일한 파일명)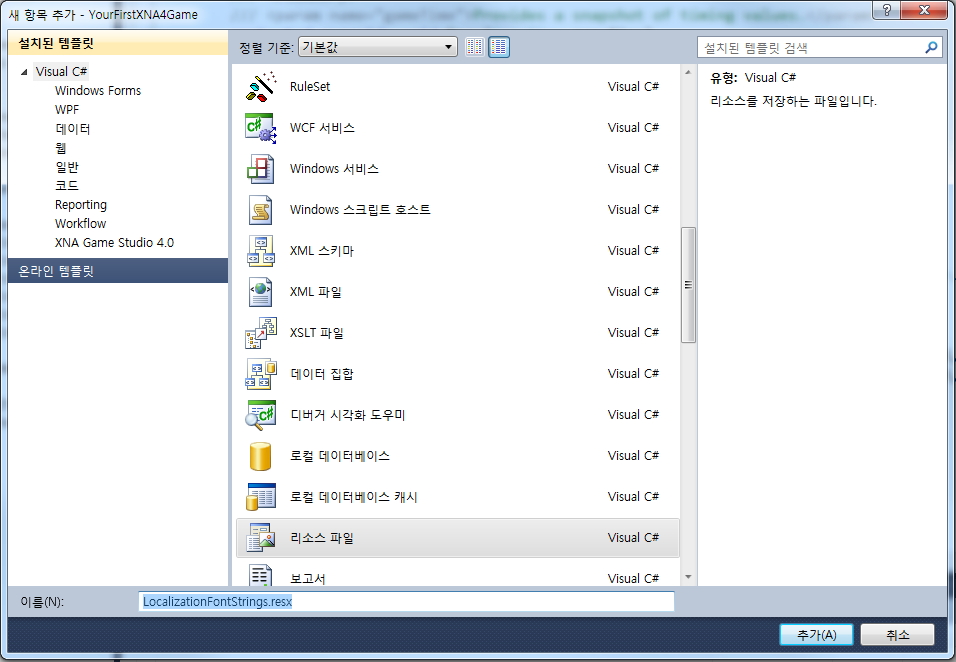
8. LocalizationFontStrings.resx 를 클릭해서 내부에 string 이름에 대한 값을 지정한다.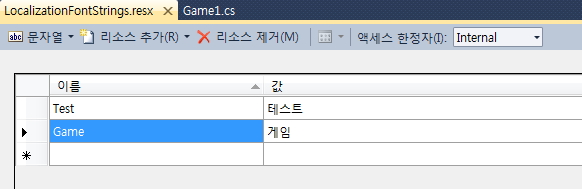
9. Game1.cs 코드에서 LocalizationFont를 사용한 한글 텍스트 출력을 한다.
SpriteFont font1 = Content.Load<SpriteFont>(“LocalizationFont”);
protected override void Draw(GameTime gameTime)
{
// 중간생략…
spriteBatch.Begin();
spriteBatch.DrawString(font2, LocalizationFontStrings.Test, textPosition2, Color.White);
spriteBatch.DrawString(font2, LocalizationFontStrings.Game, textPosition3, Color.White);
spriteBatch.End();
}
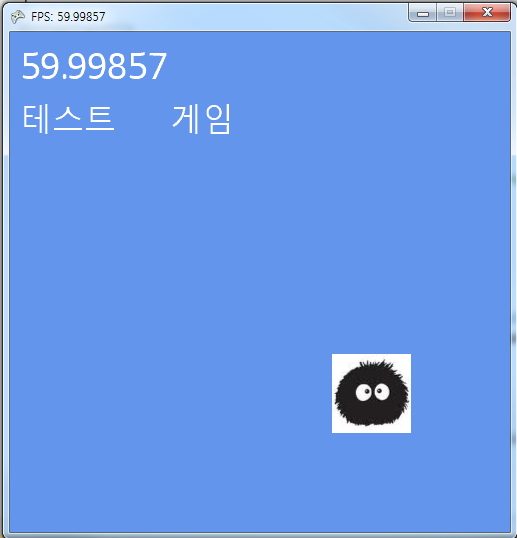
10. 실행결과